Tested with EmDash 1.1.0, Astro 7.3.5 and Node.js 22. Revised for EmDash 1.2.0 on 7 October 2026. What changed is listed at the end of the article.
EmDash is an open-source CMS that Cloudflare introduced in April 2026 and that has been stable as version 1.0 since the end of September. It is built on the Astro web framework, runs best on Cloudflare Workers but also on a regular Node.js server, and can import content from WordPress. If you search for "EmDash", you'll mostly find the em dash, the long dash in typography. This article is about the CMS.
I have worked on EmDash since April and run this site on it with Daniel. For this article I still started from zero: a new folder, the official template, everything the way someone does it for the first time. At the end the site ran on Cloudflare. Along the way I measured the times and noted where you can get stuck.
What's different from WordPress
If you come from WordPress, five things are worth knowing up front. They explain almost everything that will surprise you later.
Content is data, not HTML. The editor stores text as Portable Text, a structured JSON format. The template turns it into HTML. That's why the same content can look different on the website, in a newsletter or in an app without anyone cleaning up HTML.
Content types and fields are built in. What WordPress calls a custom post type with ACF fields is a collection in EmDash, or a "content type" in the admin. You create it in the admin, with fields like text, image, date or a reference to other entries. You don't need a plugin for that.
The theme is code in your project. There is no theme folder to upload things to. The site's look is Astro files in your project, and pages like /posts/[slug] are files in src/pages/. To change the design, you change code and deploy again.
Plugins come in two kinds. Sandboxed plugins run isolated and install with one click. Native plugins run with full access and come through npm, with a new deployment for each install. I measured what the sandbox protects and what it doesn't in the article on the plugin sandbox.
Updates are a deployment. The admin tells you when a new version is out, but there is no button for it. You update the packages in your project and deploy the site again. In return, an update only brings code; your content stays in the database. The step-by-step version is in how to update EmDash.
What you need
- Node.js 22.16 or newer.
node --versionin the terminal shows what you have. - A terminal and a little courage for the command line. It's no more than a few commands.
- A Cloudflare account to put the site online. You don't need one for the first steps locally.
- A browser that supports passkeys. Every current browser does.
Step 1: Create the project
Create the project with the official wizard:
npm create emdash@latestIt asks for the project name, the target (Cloudflare or Node.js), the template and the package manager. I picked Cloudflare and the blog template, because that's how this site runs too. To skip the questions, pass everything directly:
npm create emdash@latest my-blog -- --template cloudflare:blog --pm npm --install --yesFor me this took 91 seconds including the install. npm installed 709 packages and reported no known vulnerabilities. The wizard also writes a key to the .env file. You'll need it later for plugin settings that are stored encrypted. The file doesn't belong in your Git repository, but keep a copy of the key somewhere safe.
There are five templates: blank, starter, blog, portfolio and marketing, the last four each for Cloudflare and for Node.js. The official getting started guide uses the starter on Node.js with a SQLite database. That works without a cloud account and is a good way in if you just want to look around.
Step 2: Run it locally
cd my-blog
npm run dev
The server was ready after a little over eight seconds. It usually runs at http://localhost:4321. If that port is taken, Astro picks the next one and prints the address in the terminal. The first request took a little over five seconds for me, because EmDash creates the local database at that point. After that it's fast.
The local database is the same kind as on Cloudflare, just on your machine. So there's nothing else to install.
Step 3: Set up the admin
Open http://localhost:4321/_emdash/admin. A new site sends you to the setup wizard. It has three steps: the site with title and tagline, your account with email and name, and finally a passkey.
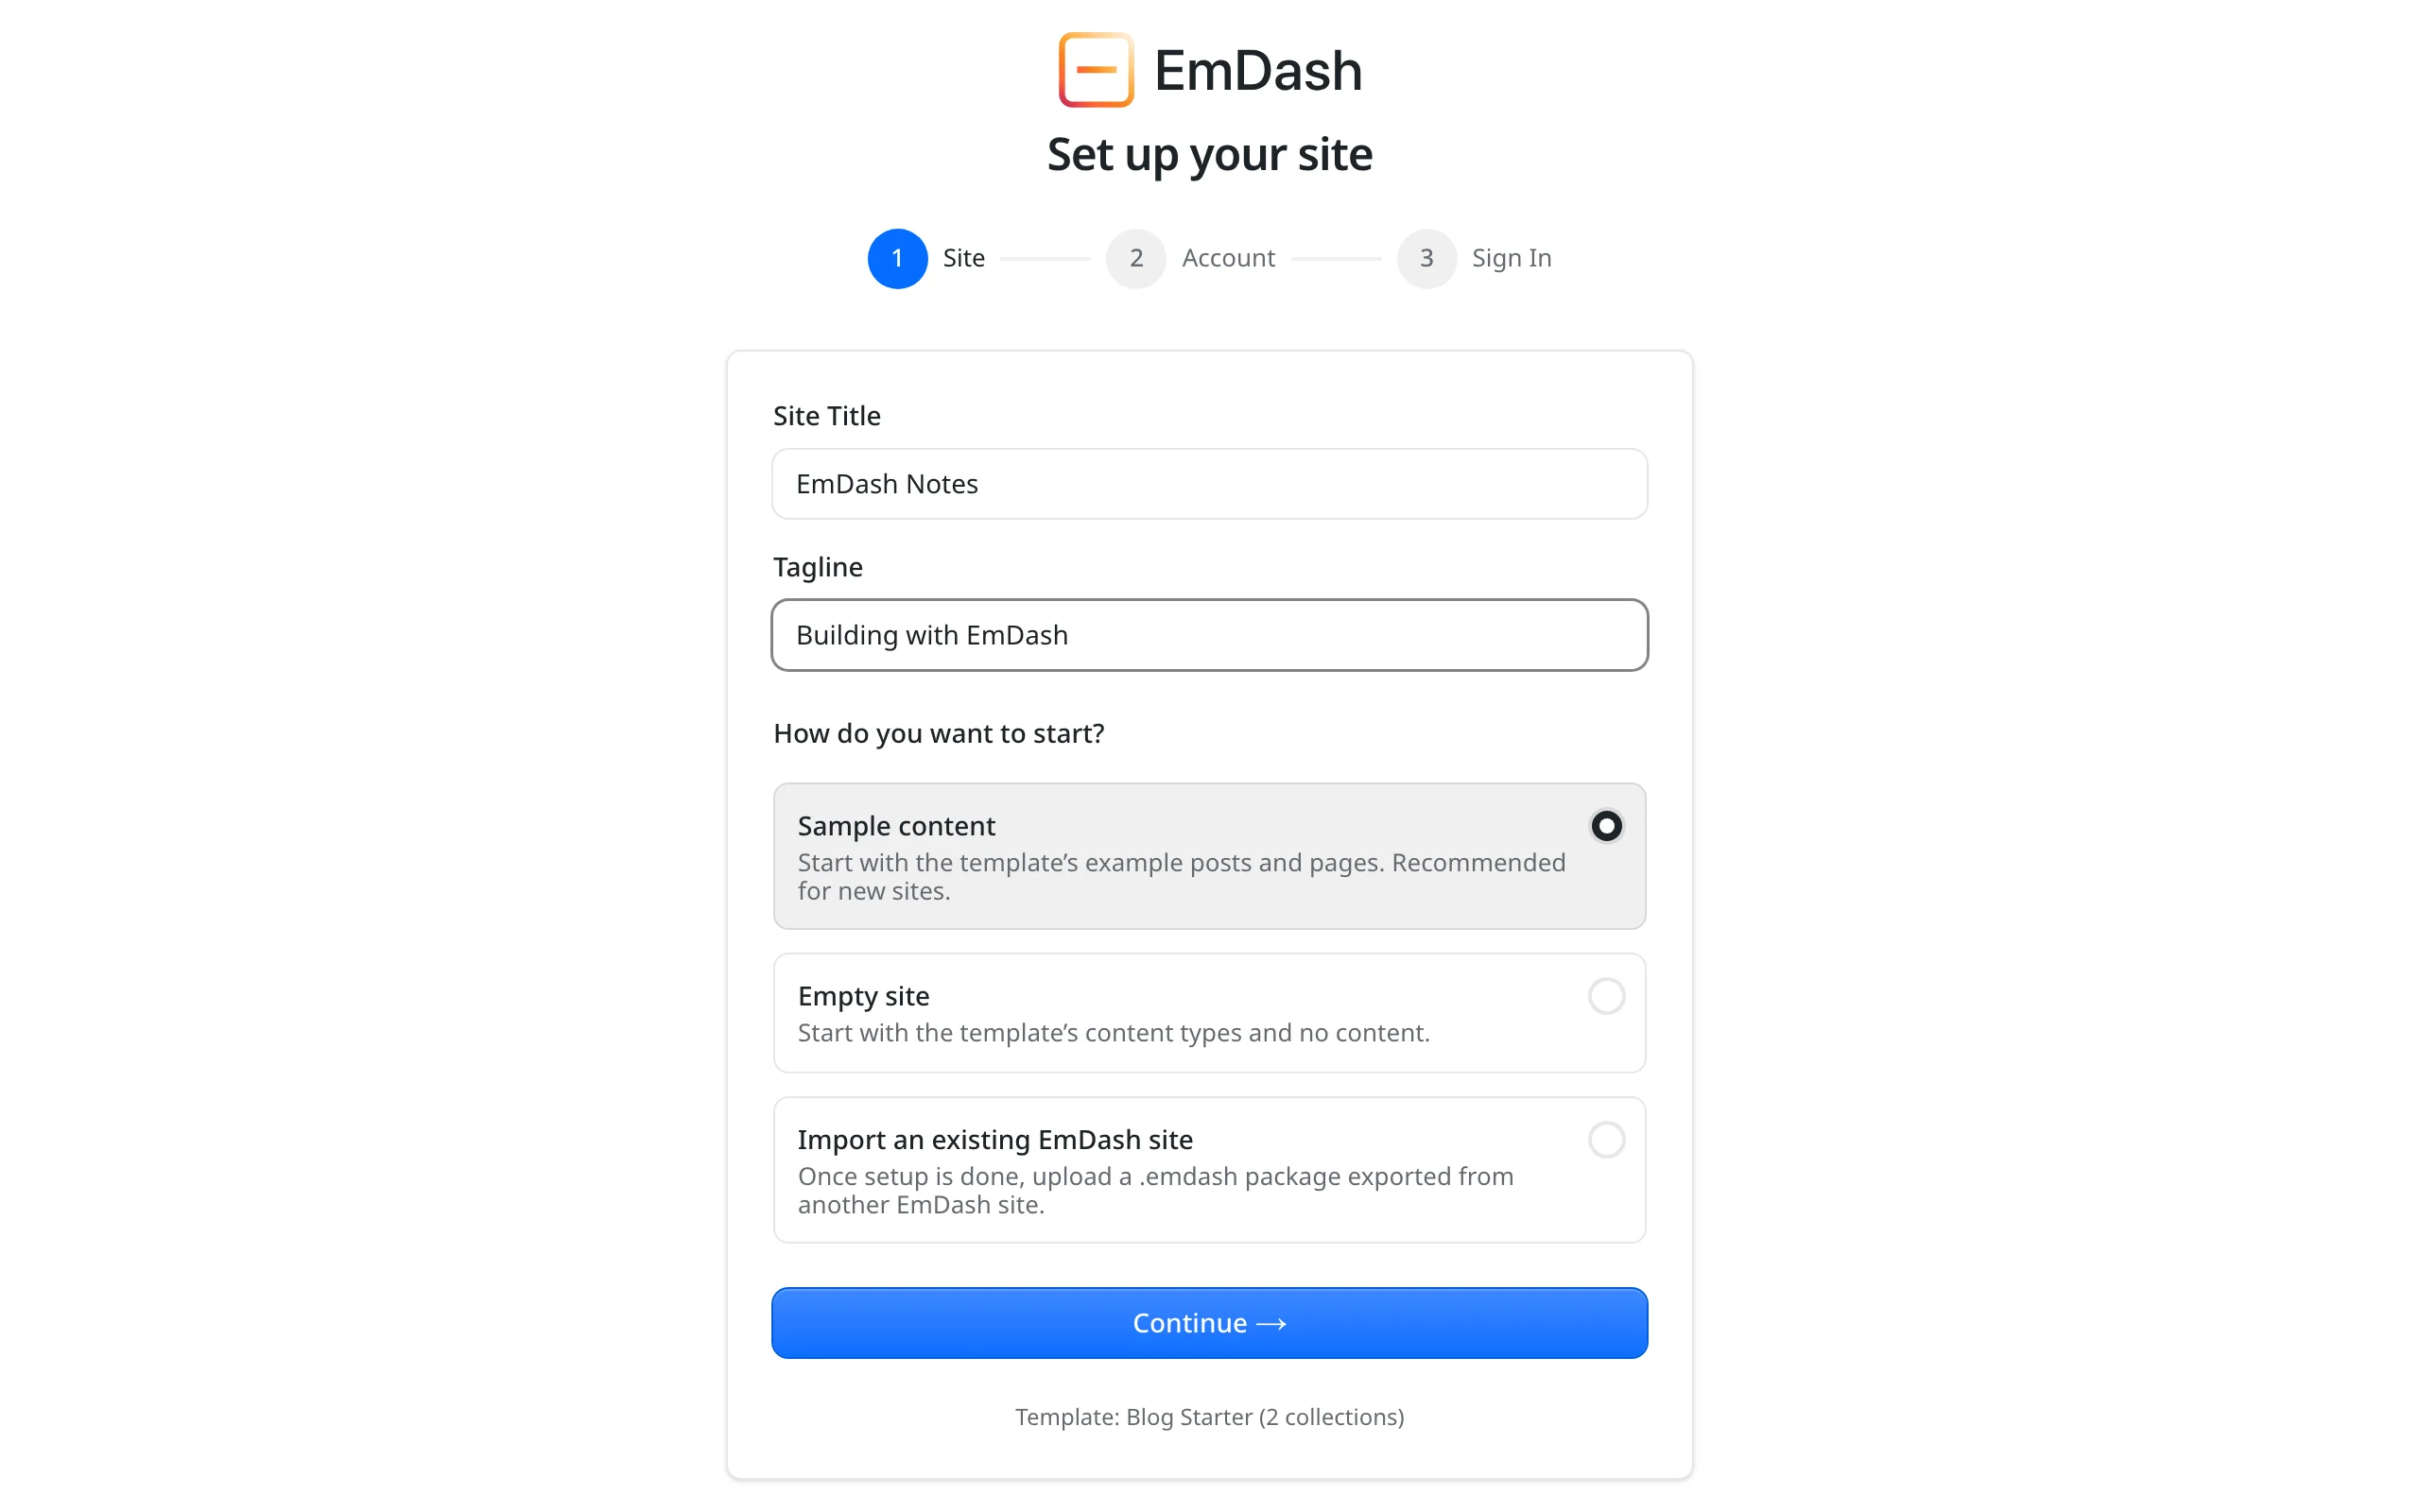
EmDash has no passwords. You sign in with a passkey, meaning your fingerprint, face or your device's PIN. Later you can add sign-in links by email or a login through GitHub, Google or Microsoft. The email links need a plugin that sends email.
Two things stood out that the official guide doesn't mention:
- After the setup you have to sign in once. "Open the dashboard" leads to the sign-in page, not the dashboard. One click on the passkey sign-in with the passkey you just created, and you're in.
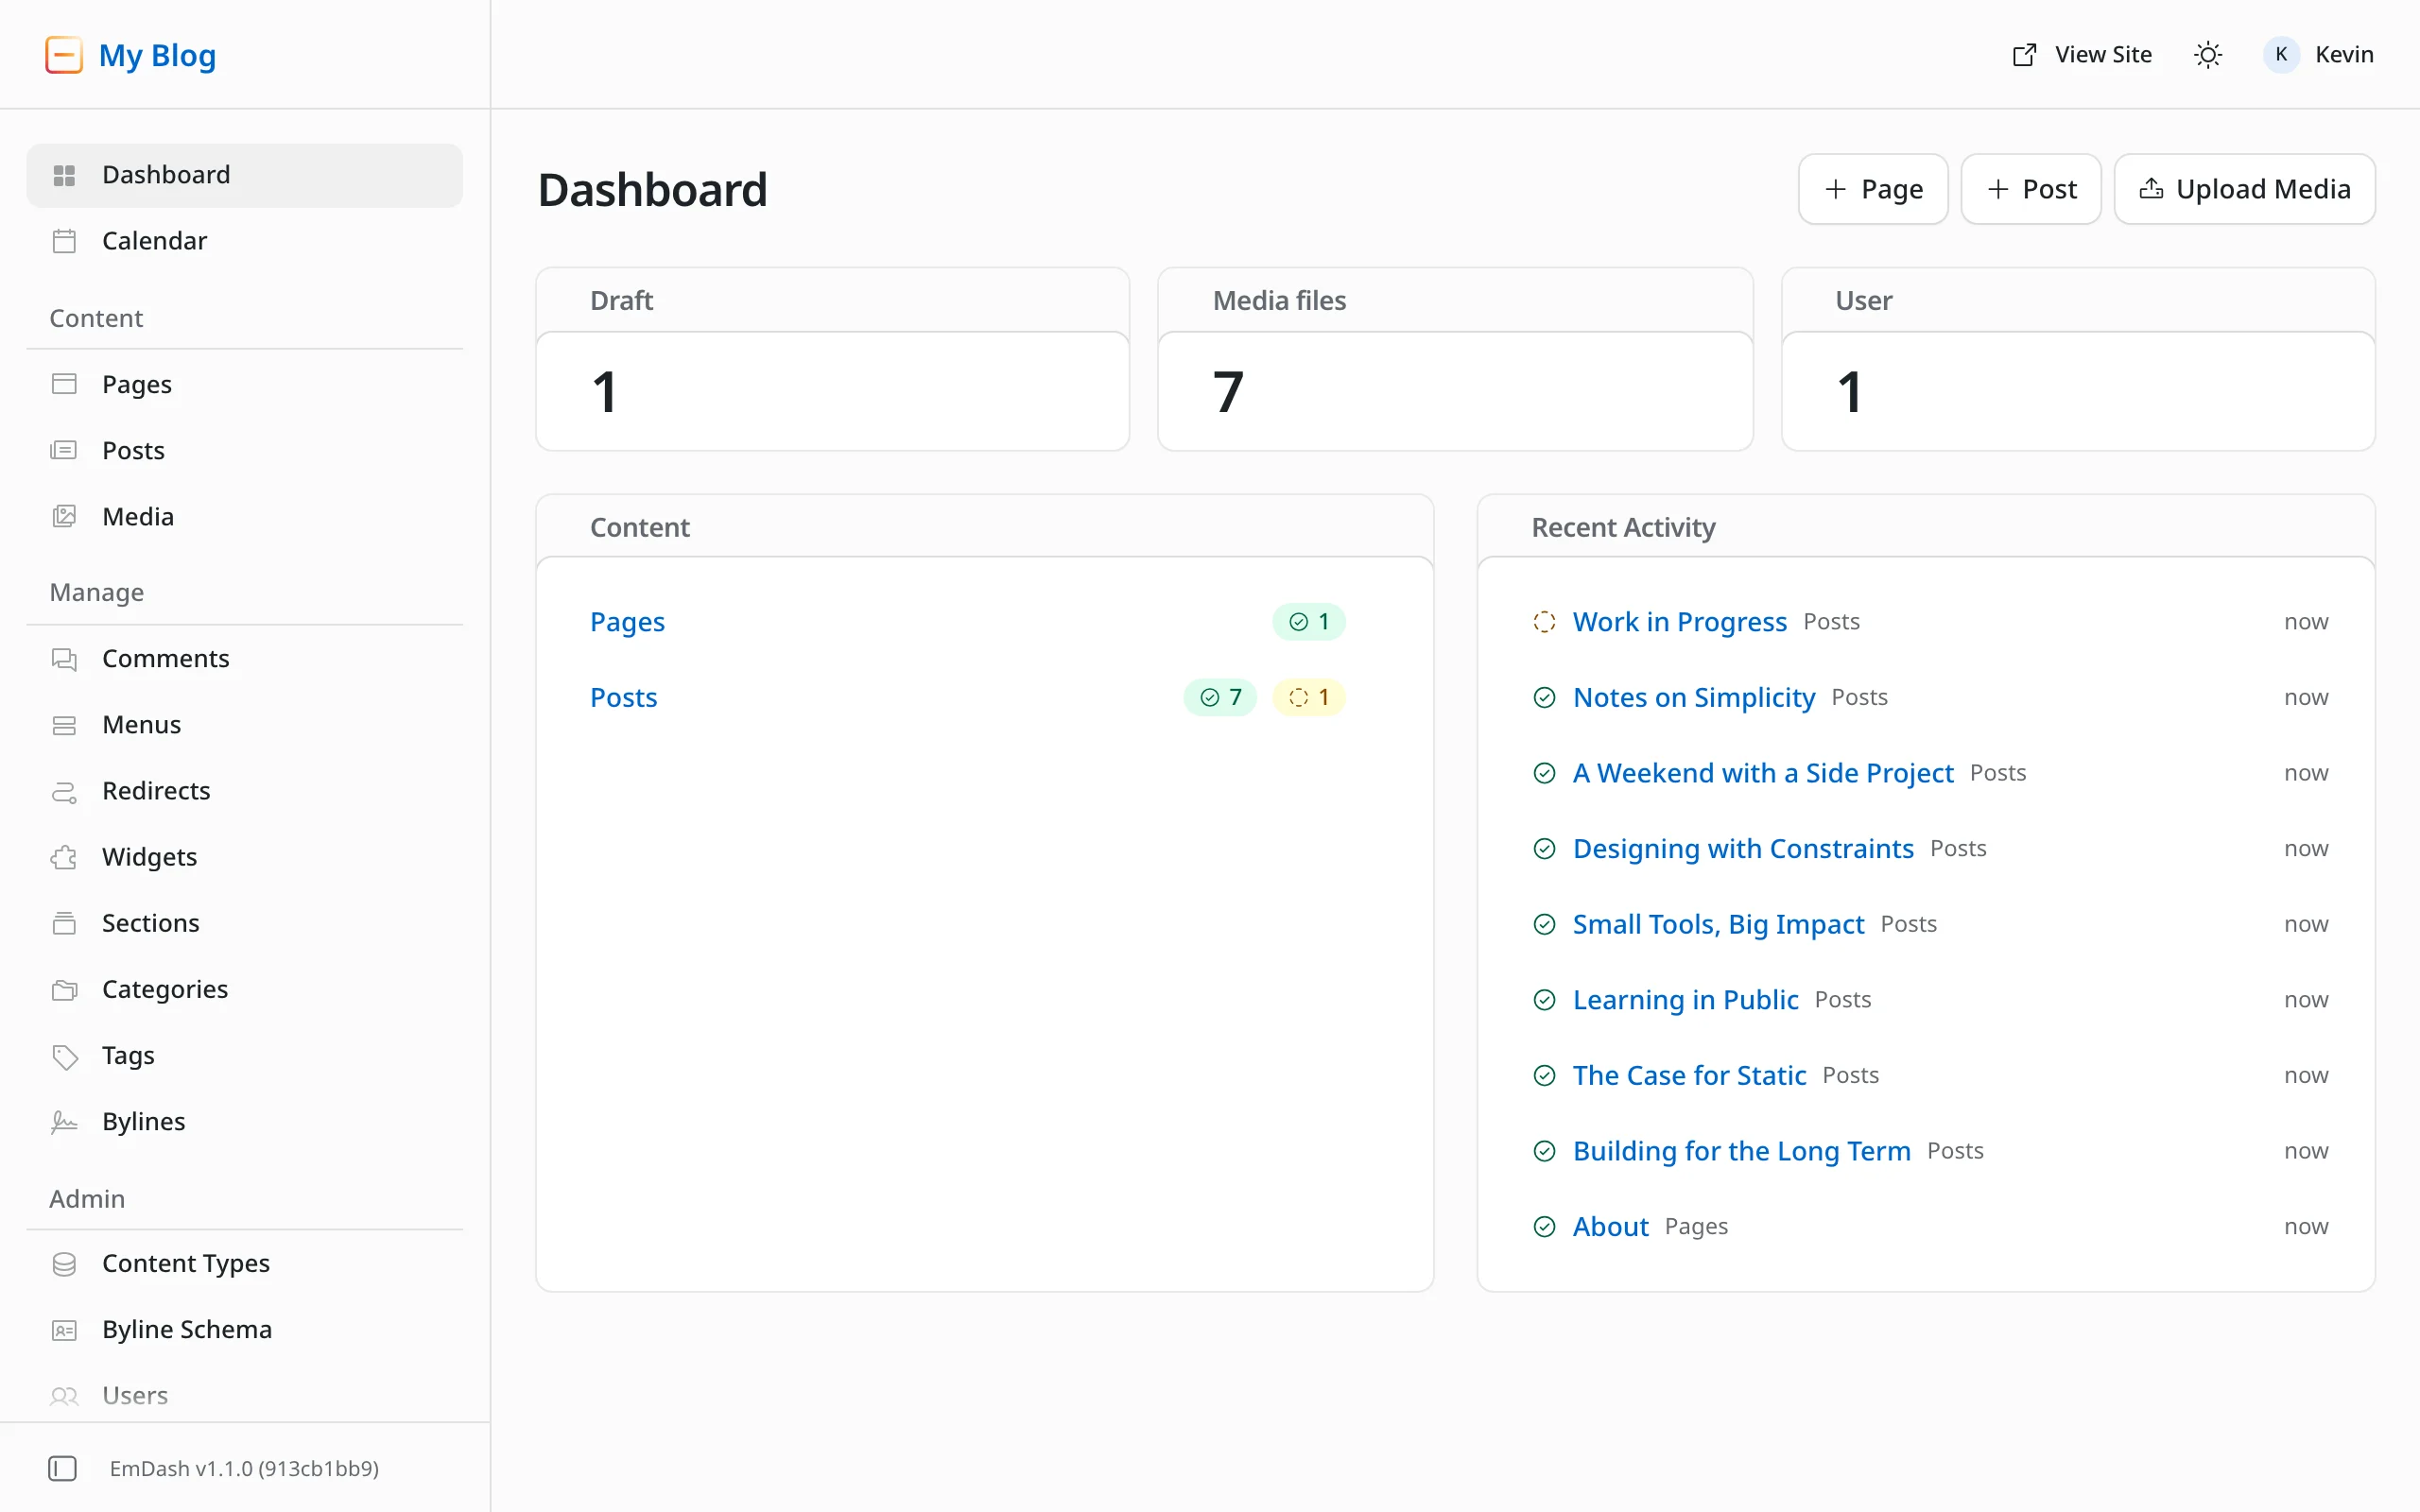
- The site title from the wizard didn't stick in 1.1.0. I entered "EmDash Notes", but the site was still called "My Blog" like the template, and the tagline was the template's too. Daniel fixed the bug, and since EmDash 1.2.0 the title and tagline stick (#3749). On an older version, change both under Settings after the setup.
Step 4: Understand content types
Before you write, take a look at "Content Types" under Admin. The blog template comes with two: Pages and Posts. Next to each you see what it can do, for example drafts, revisions, preview, search, SEO and, for posts, scheduled publishing.
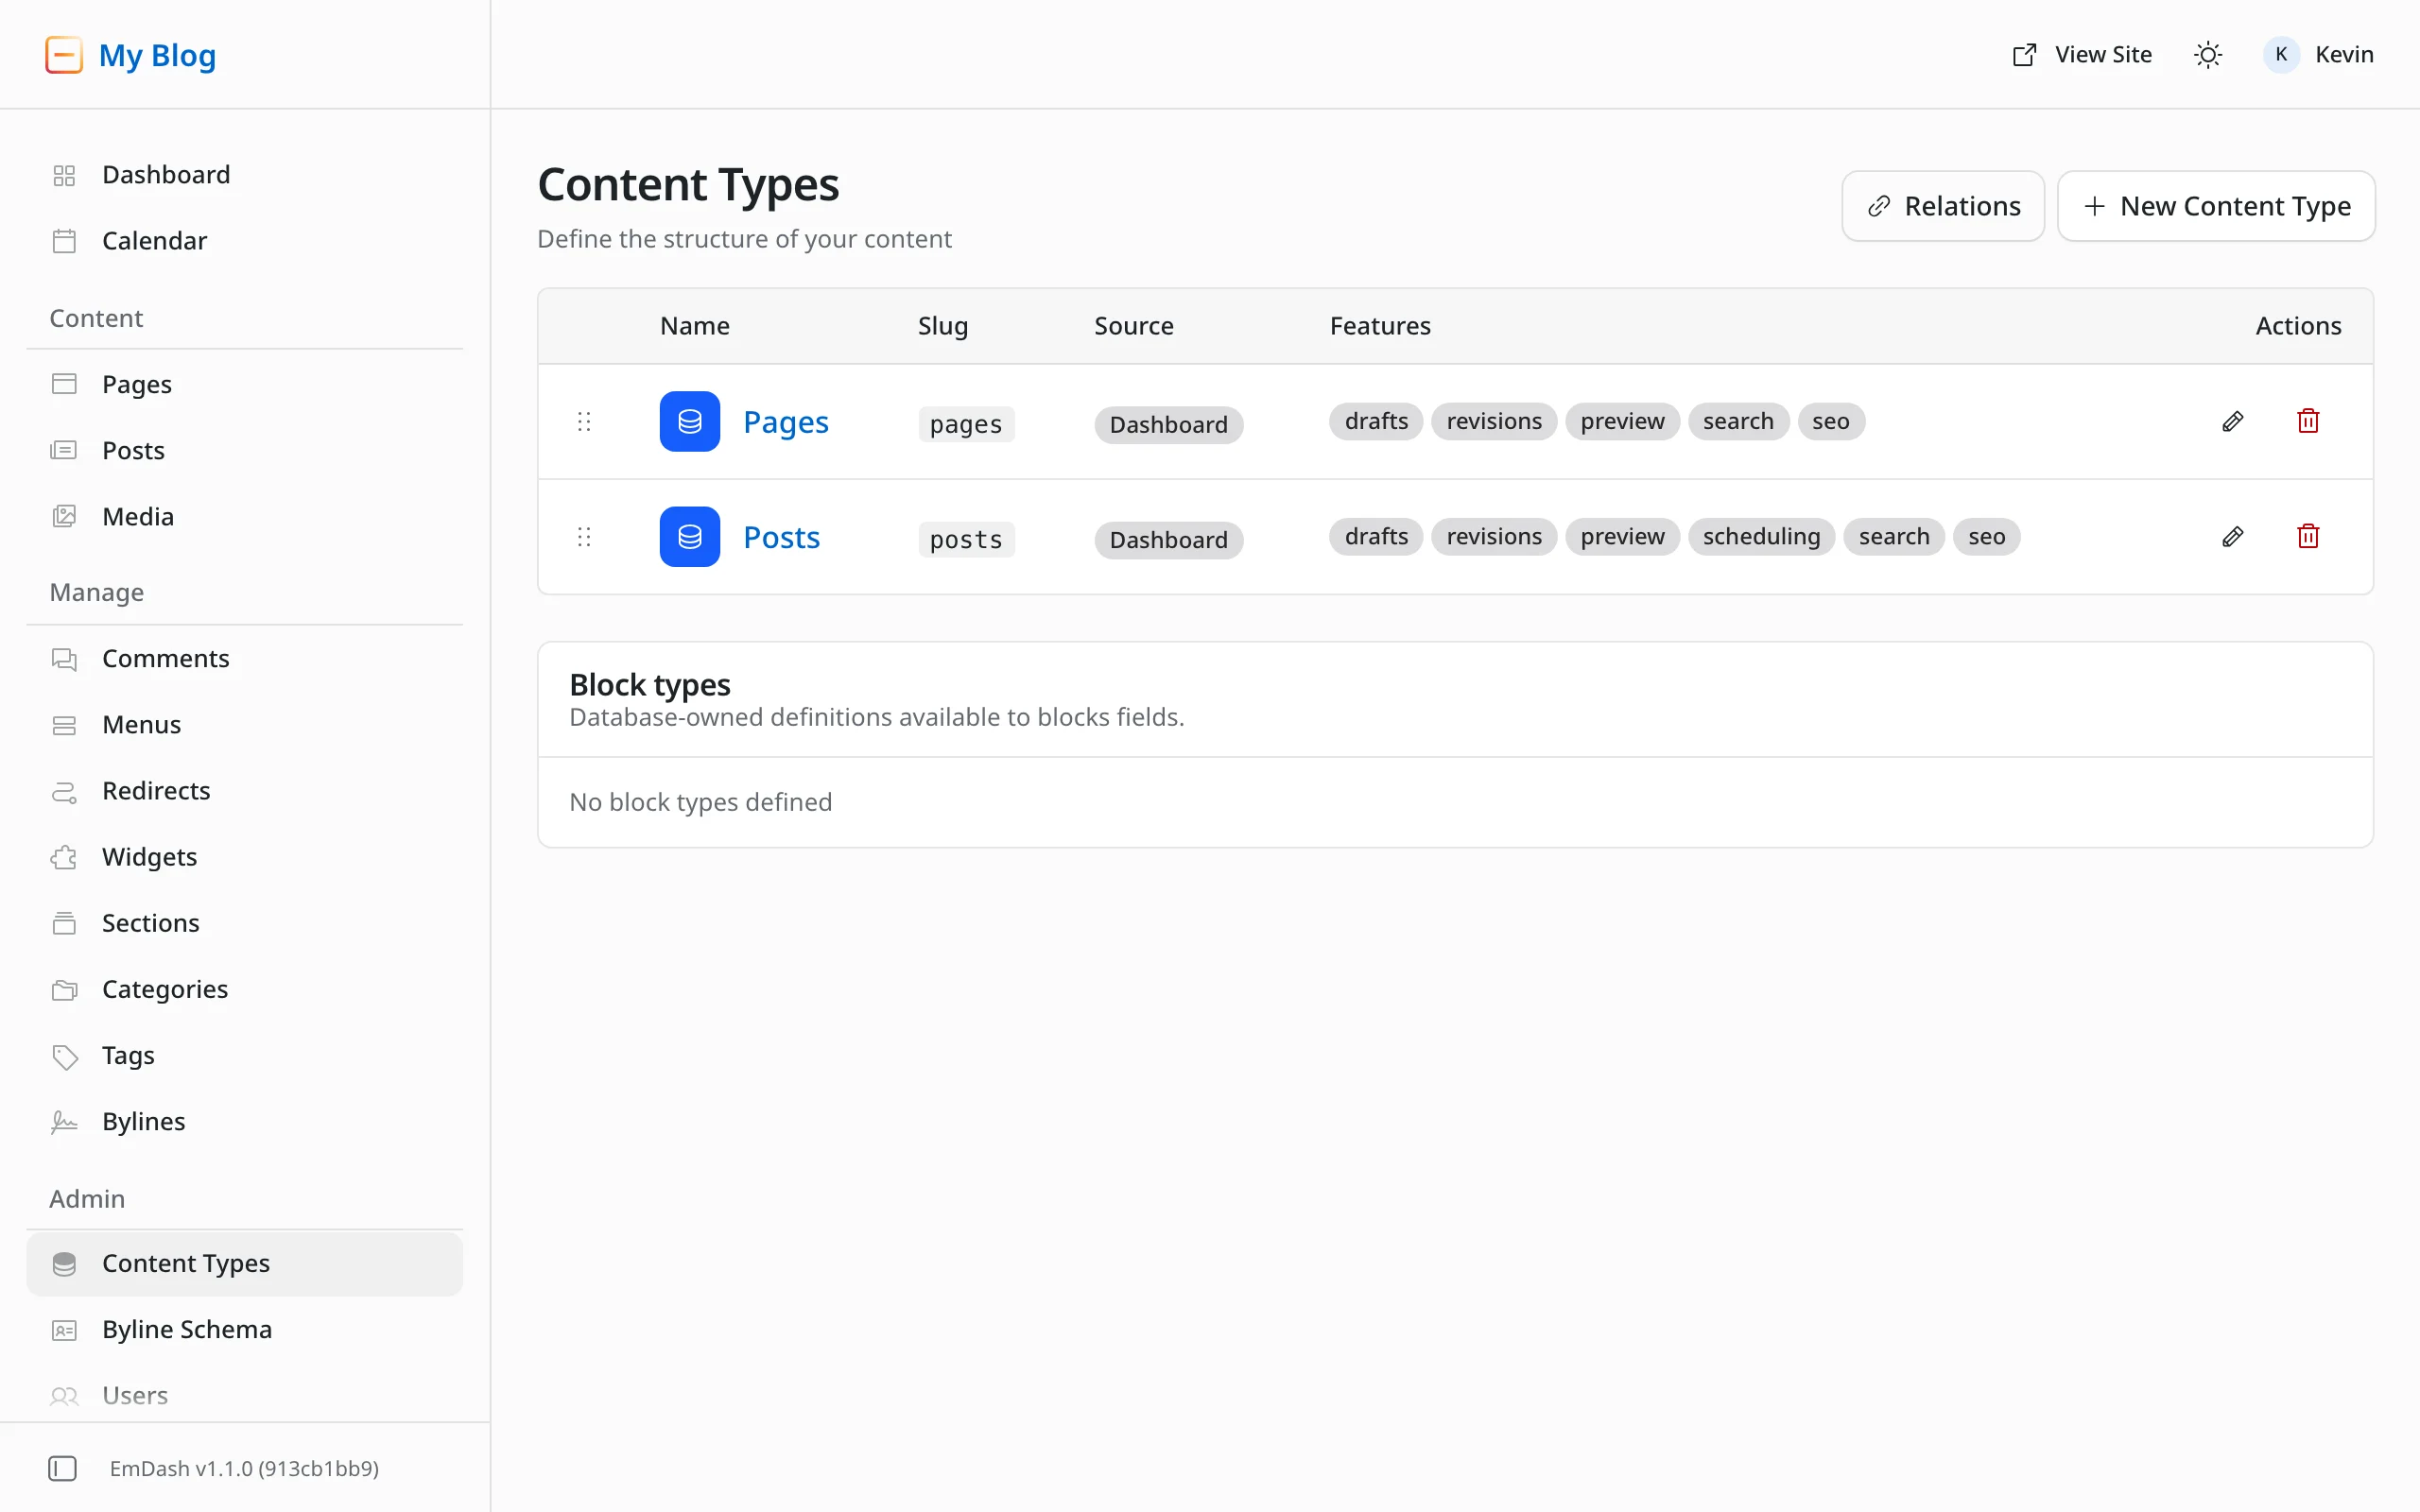
"New Content Type" creates your own, for example case studies with client, logo and key figures. In a type's settings you also set the URL pattern, for example /blog/{slug} or WordPress-style permalinks with year and month. For a new collection to show up on the website, though, it needs a page in the template. That's where code comes in. Daniel walks through it from the admin to your site in Your first custom content type.
Step 5: Publish your first post
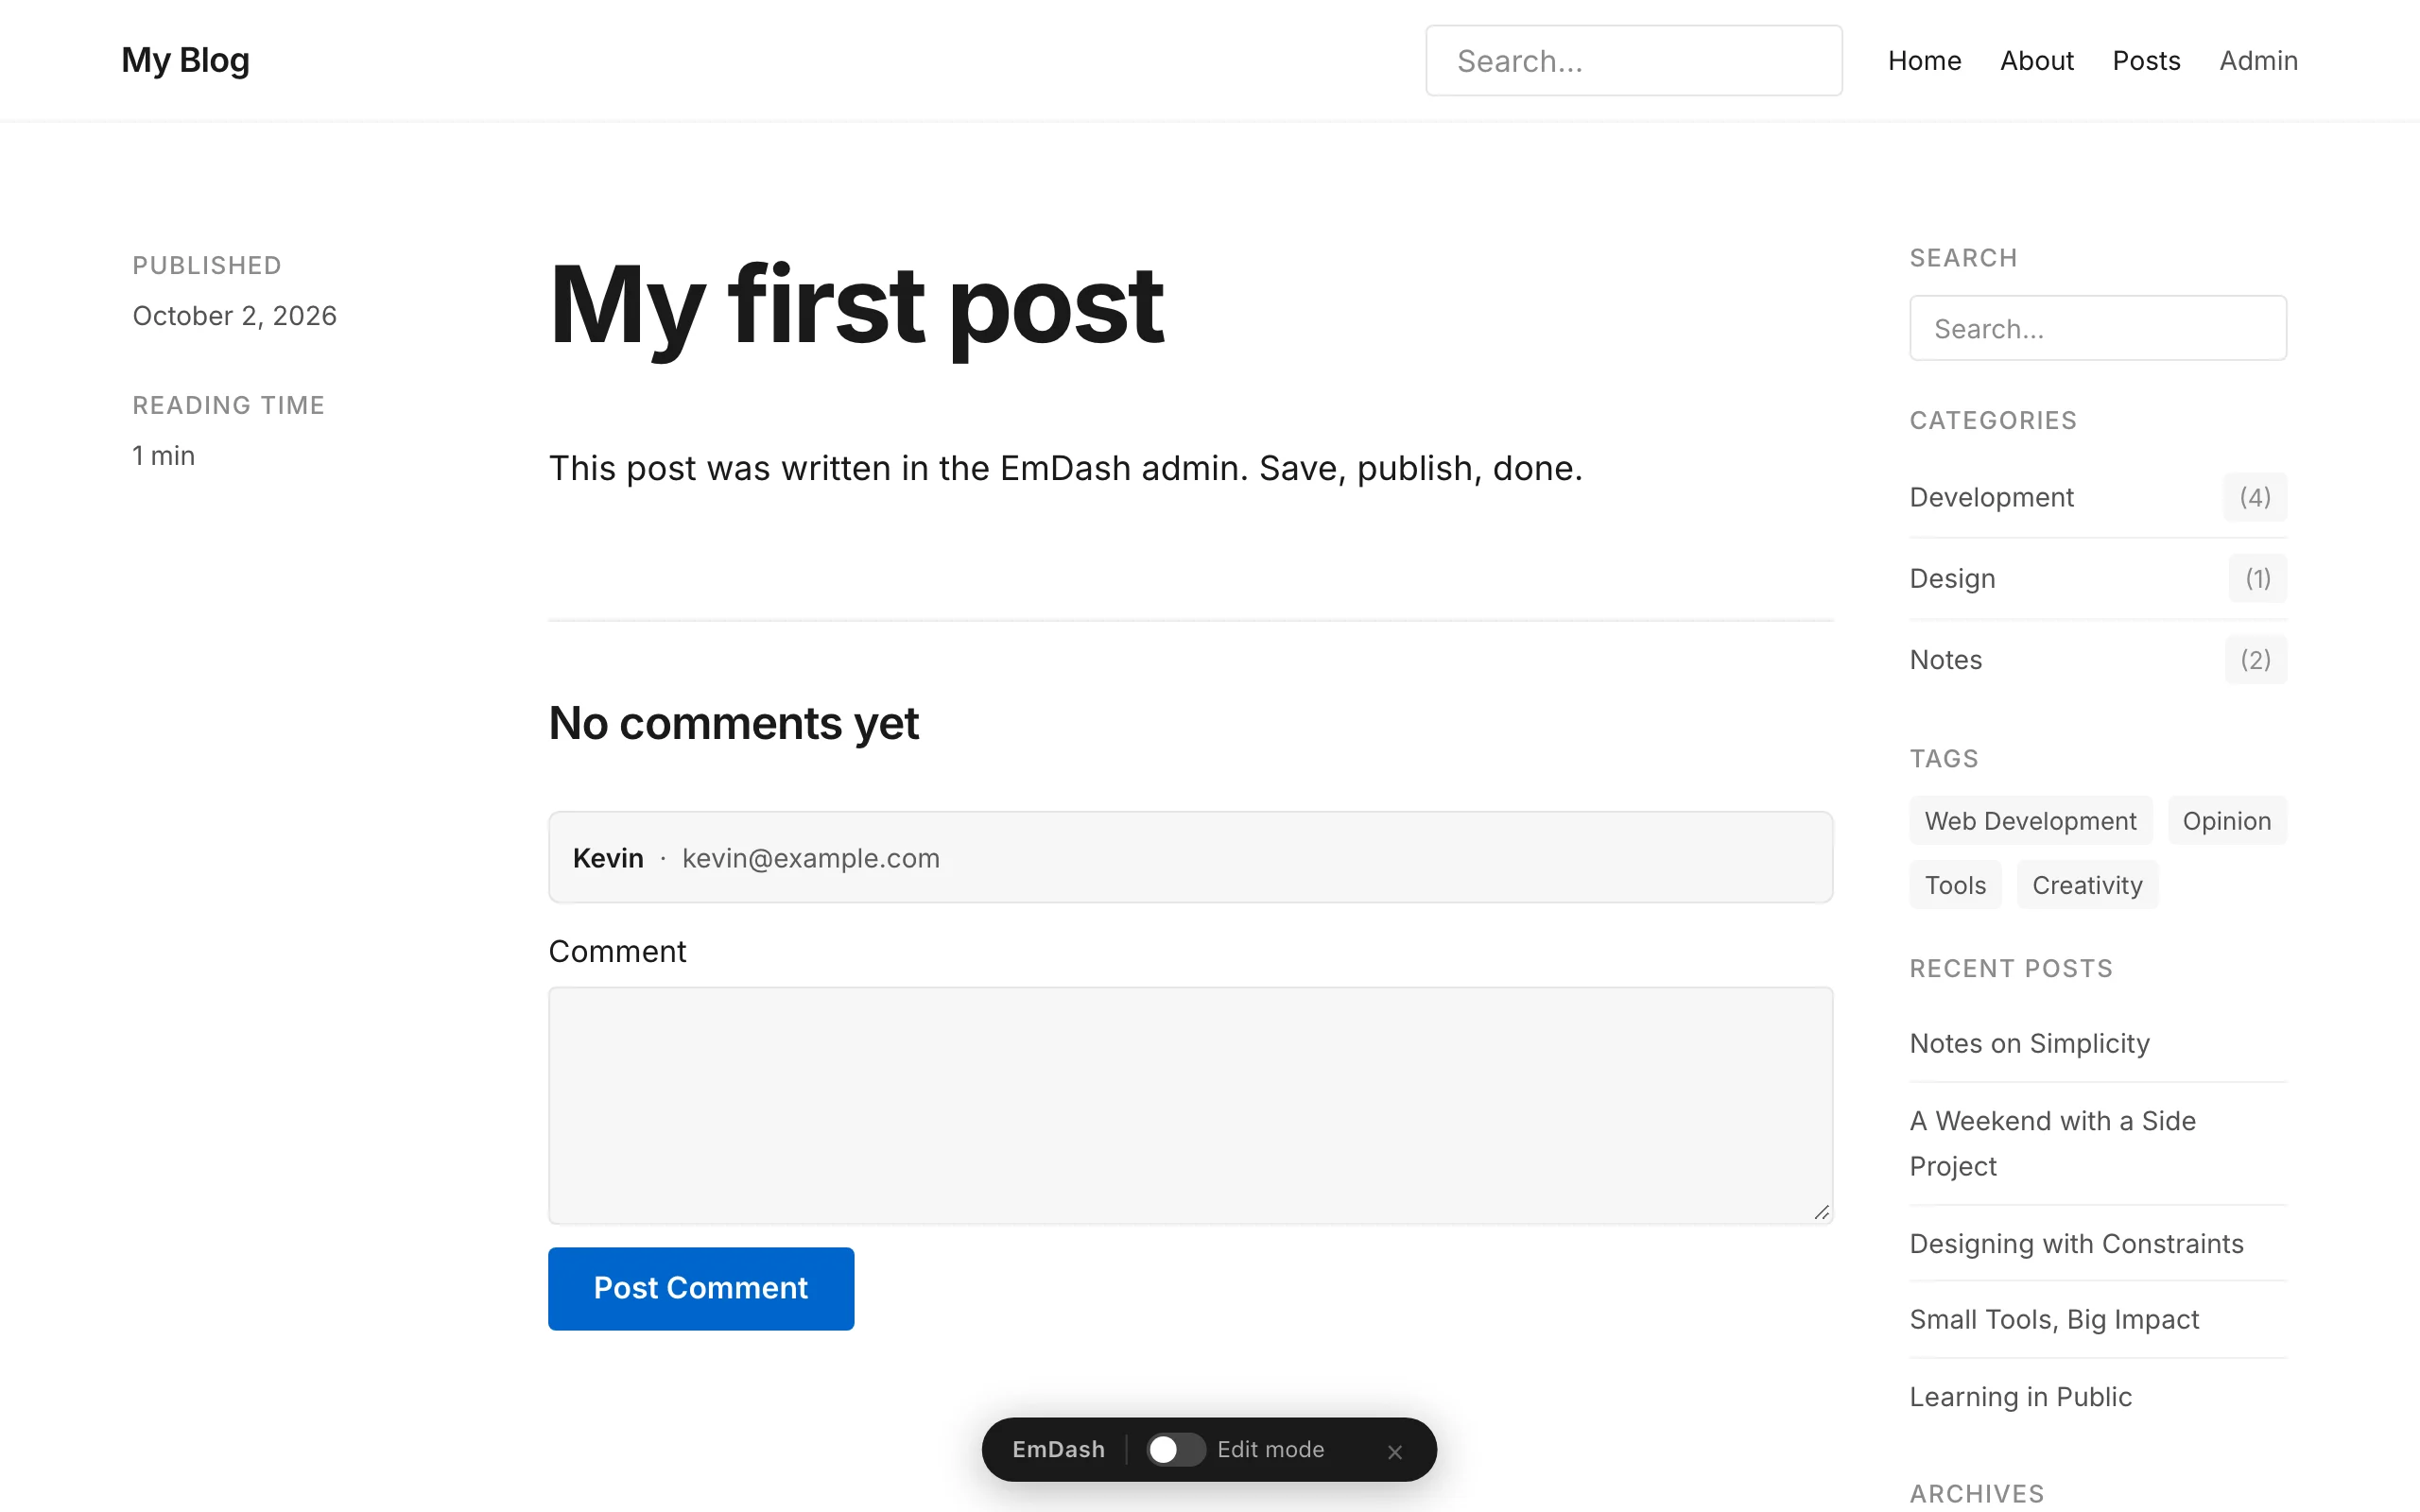
Under Posts, "Add New" starts a post. Title, content, optionally a featured image and an excerpt. EmDash suggests the slug for the URL from the title: "My first post" becomes my-first-post.
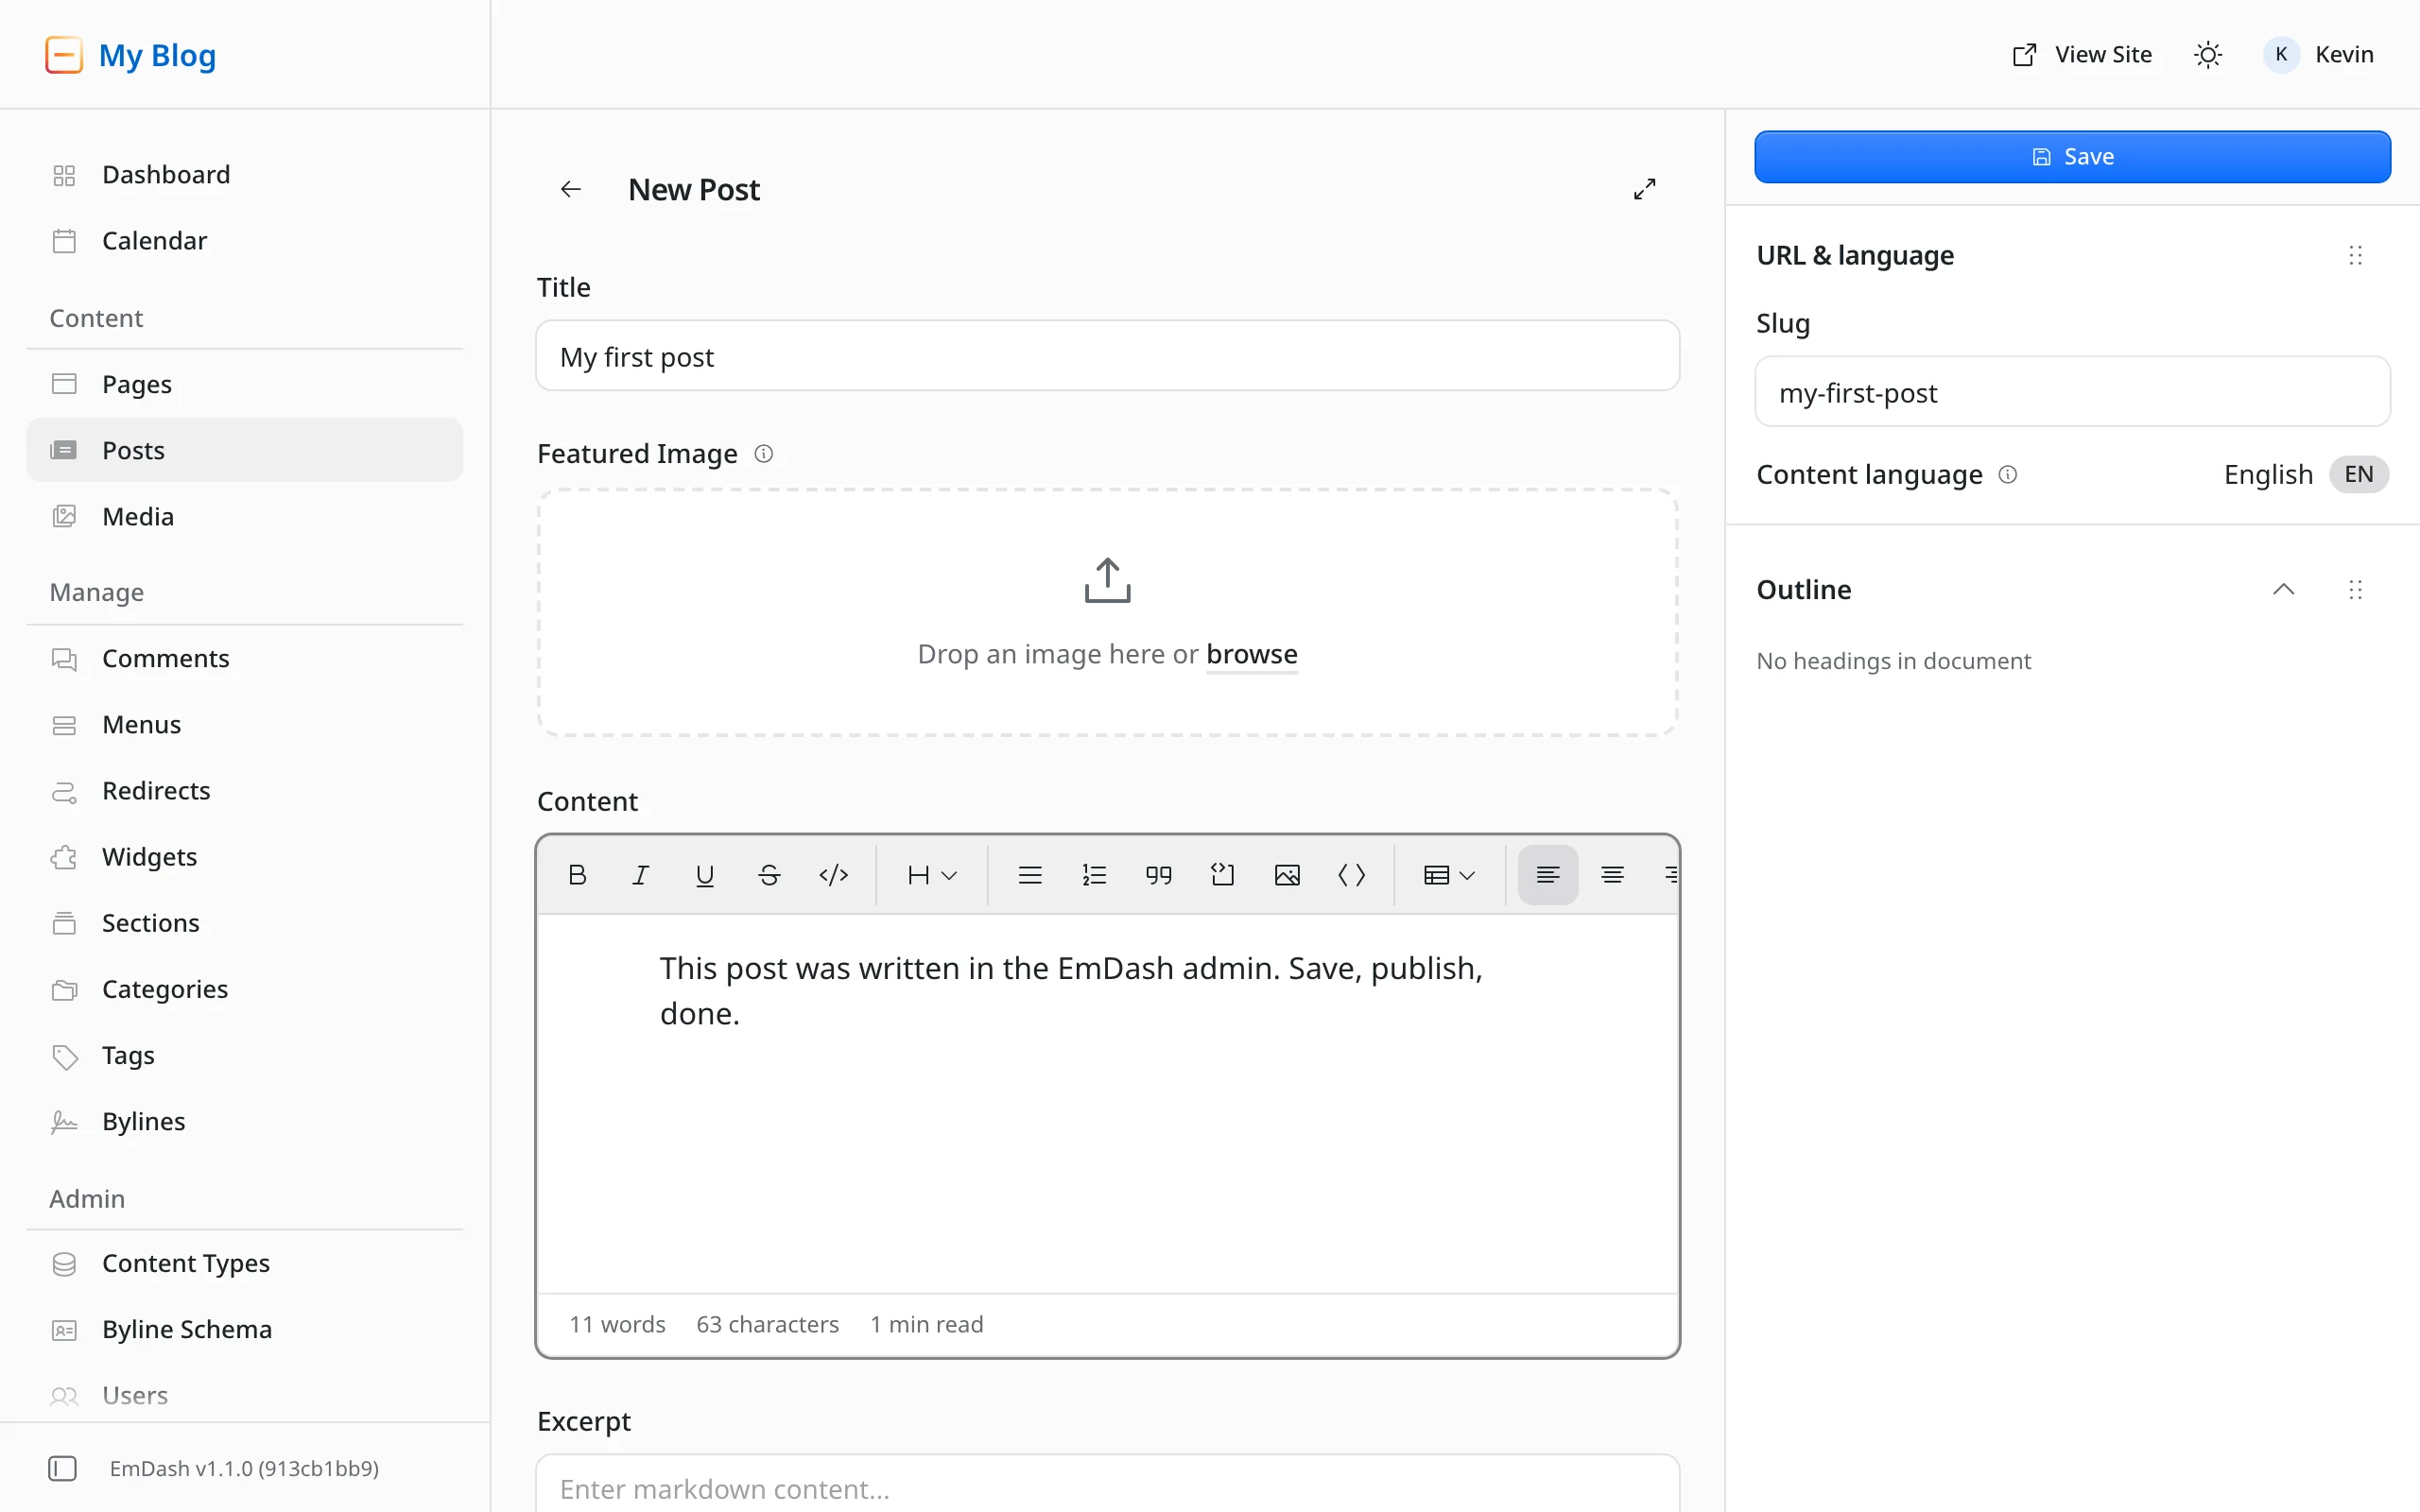
Save creates a draft that nobody sees on the website yet. Only "Publish now" makes it visible, after a short confirmation. After that the post was on the home page and at /posts/my-first-post.
The template is in English, and so is its content language. For a site in another language, or in two, you adapt the template and Astro's language settings. That's a topic of its own; this site is built that way.
Step 6: Deploy to Cloudflare
To put the site online, sign in to Cloudflare once with Wrangler, Cloudflare's command-line tool:
npx wrangler loginThen one command does it, and the template already includes it:
npm run deployIt builds the site and uploads it. The first time, Wrangler creates the database (D1), the media storage (R2) and a session store (KV) on its own, with the names from wrangler.jsonc. For me the whole thing took 2 minutes 37 seconds, most of it uploading. After that the site runs at an address like https://my-blog.your-name.workers.dev.
Three things are worth knowing:
- For the first minute the site answers "not found". Right after the deployment I got a 404 page for about a minute, then everything worked. Don't panic, just wait.
- Run the setup on the final address. A passkey only works for the address it was created on. If the site should run on your own domain, add the domain first and only then run the setup. Otherwise the passkey won't work on the new domain. The Cloudflare docs explain how. Since EmDash 1.2.0, the "Change domain" dialog under Settings → General helps with a later move, and anyone who is signed in gets to the new address without an email. It's still easier to start on the right address.
- The local database doesn't come along. The site on Cloudflare starts empty and takes you through the setup wizard again. What you wrote locally stays local.
Measured from Zurich, the finished site answered in about 300 milliseconds to the first byte. Afterwards I deleted it again, database and storage included.
What does it cost?
Locally, EmDash costs nothing. On Cloudflare, the blog template without the plugin sandbox runs on the free Workers plan, according to the docs on the sandbox. The free plan has limits, though: 100,000 requests a day, 10 milliseconds of CPU time per request, five cron triggers per account and D1 databases up to 500 MB (Workers limits, D1 limits). Whether every EmDash page fits into 10 milliseconds of CPU time I haven't measured; my test account is a paid one.
The paid plan starts at 5 dollars a month per Cloudflare account, not per site (pricing). It raises those limits and unlocks the plugin sandbox. For a site that should have clients or readers, I'd take it.
Where to go next
- Switching from WordPress? In Coming from WordPress, Daniel shows where to find what you know from WordPress.
- You maintain WordPress sites for clients? My guide for agencies compares EmDash and WordPress on cost, updates, plugins and migration.
- You want to move a WordPress site with ACF fields? In the article on the ACF import I show how repeaters, images and references arrive intact.
- You want to write or install plugins? The article on the plugin sandbox shows what the sandbox blocks and where its limits are.
- Your site is live? Then read how to back it up and update it safely.
- You want to go deeper into the technical side? The official docs explain queries, fields and deployment in detail.
If you get stuck somewhere that's missing here, tell me in the comments. I'll add it to the article.
Changes to this article
- : Revised for 1.2.0: the site title bug is fixed, and a later domain change has a dialog of its own.

Comments
No comments yet
First-time comments appear once we've approved them. How we handle your details